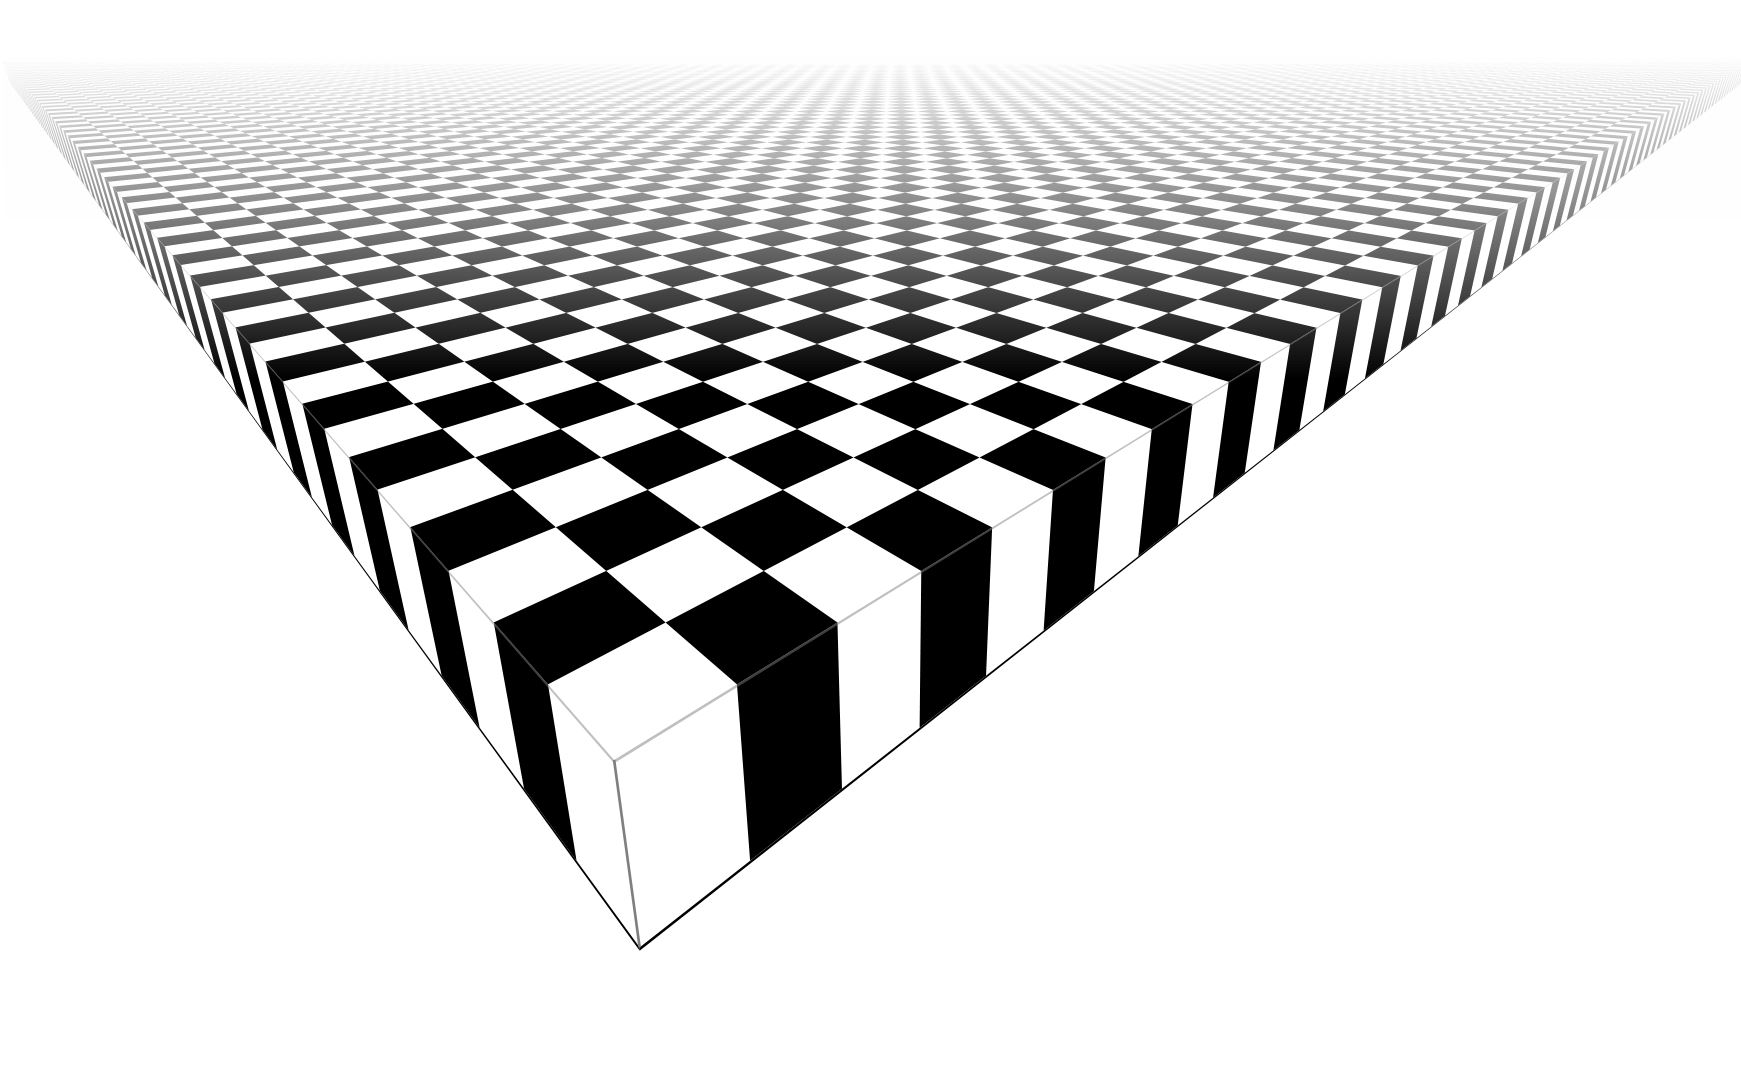
I’d like to explain to you how to draw chessboards by hand in perfect perspective, using only a straightedge. In this post, I’ll explain how to construct chessboards of any size, starting with the size of the basic unit square.
 This post follows up on the post I made yesterday about how to draw a chessboard in perspective view, using only a straightedge. That method was a subdivision method, where one starts with the boundary of the desired board, and then subdivides to make a chessboard. Now, we start with the basic square and build up. This method is actually quite efficient for quickly making very large boards in perspective view.
I want to emphasize that this is something that you can actually do, right now. It’s fun! All you need is a piece of paper, a pencil and a straightedge. I’ll wait right here while you gather your materials. Use a ruler or a chop stick (as I did) or the edge of a notebook or the lid of a box. Sit at your table and draw a huge chessboard in perspective. You can totally do this.
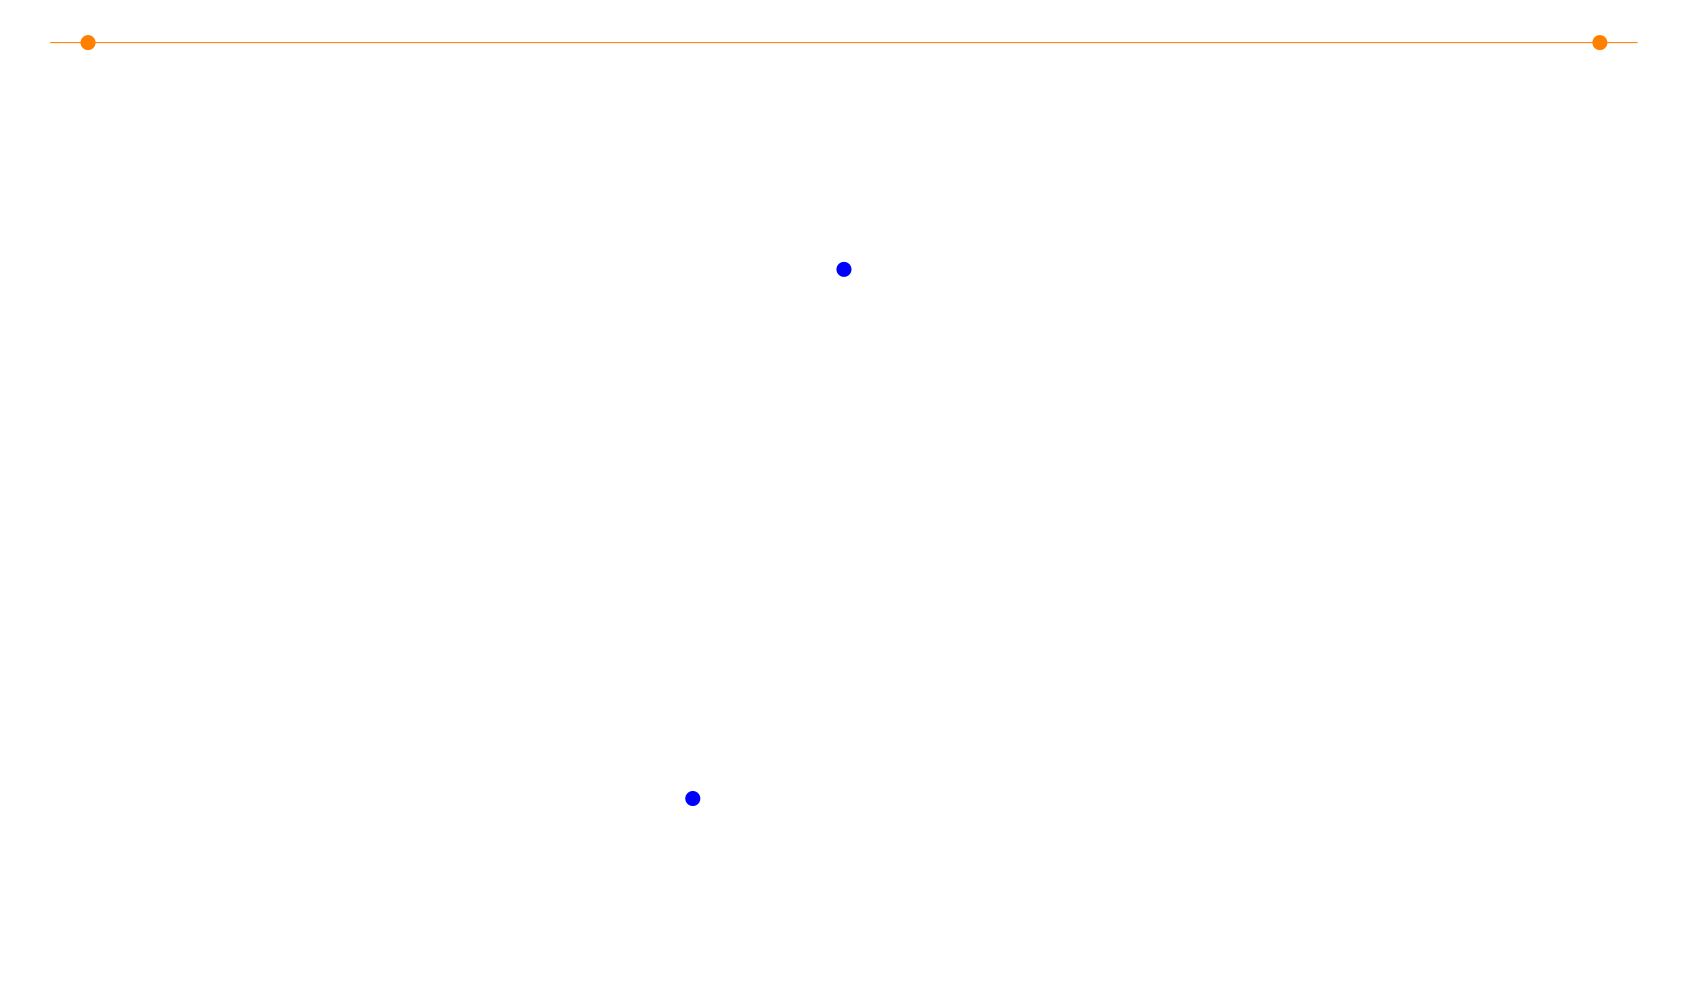
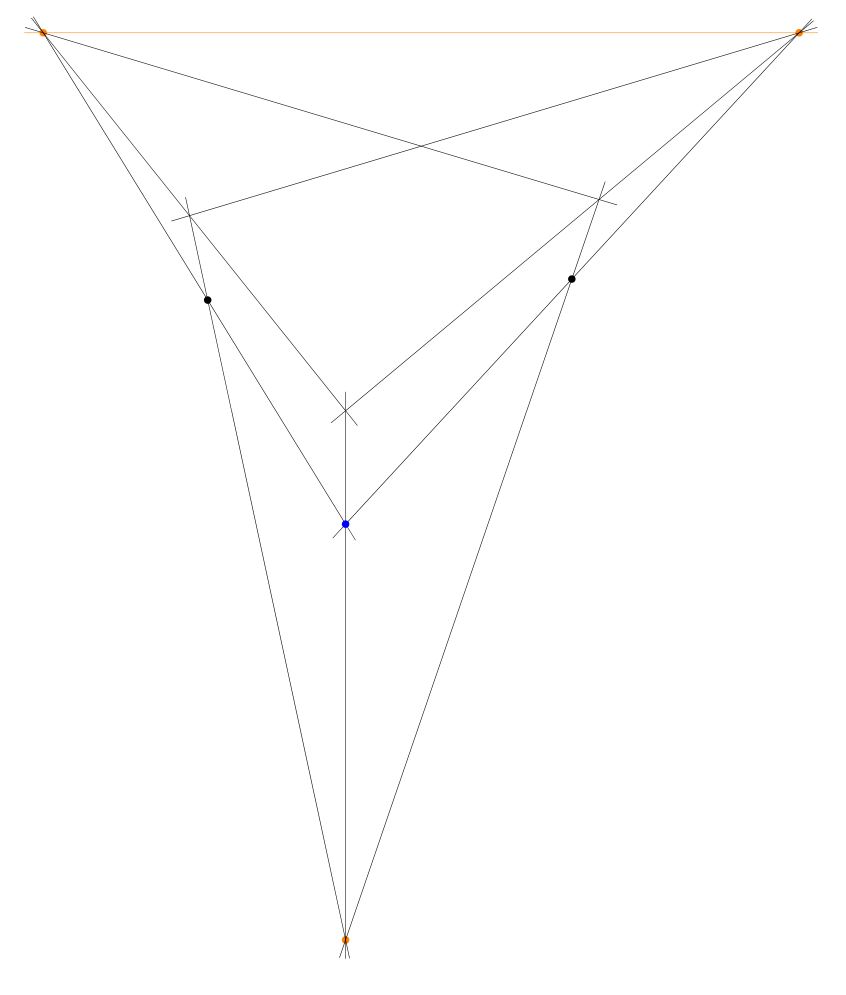
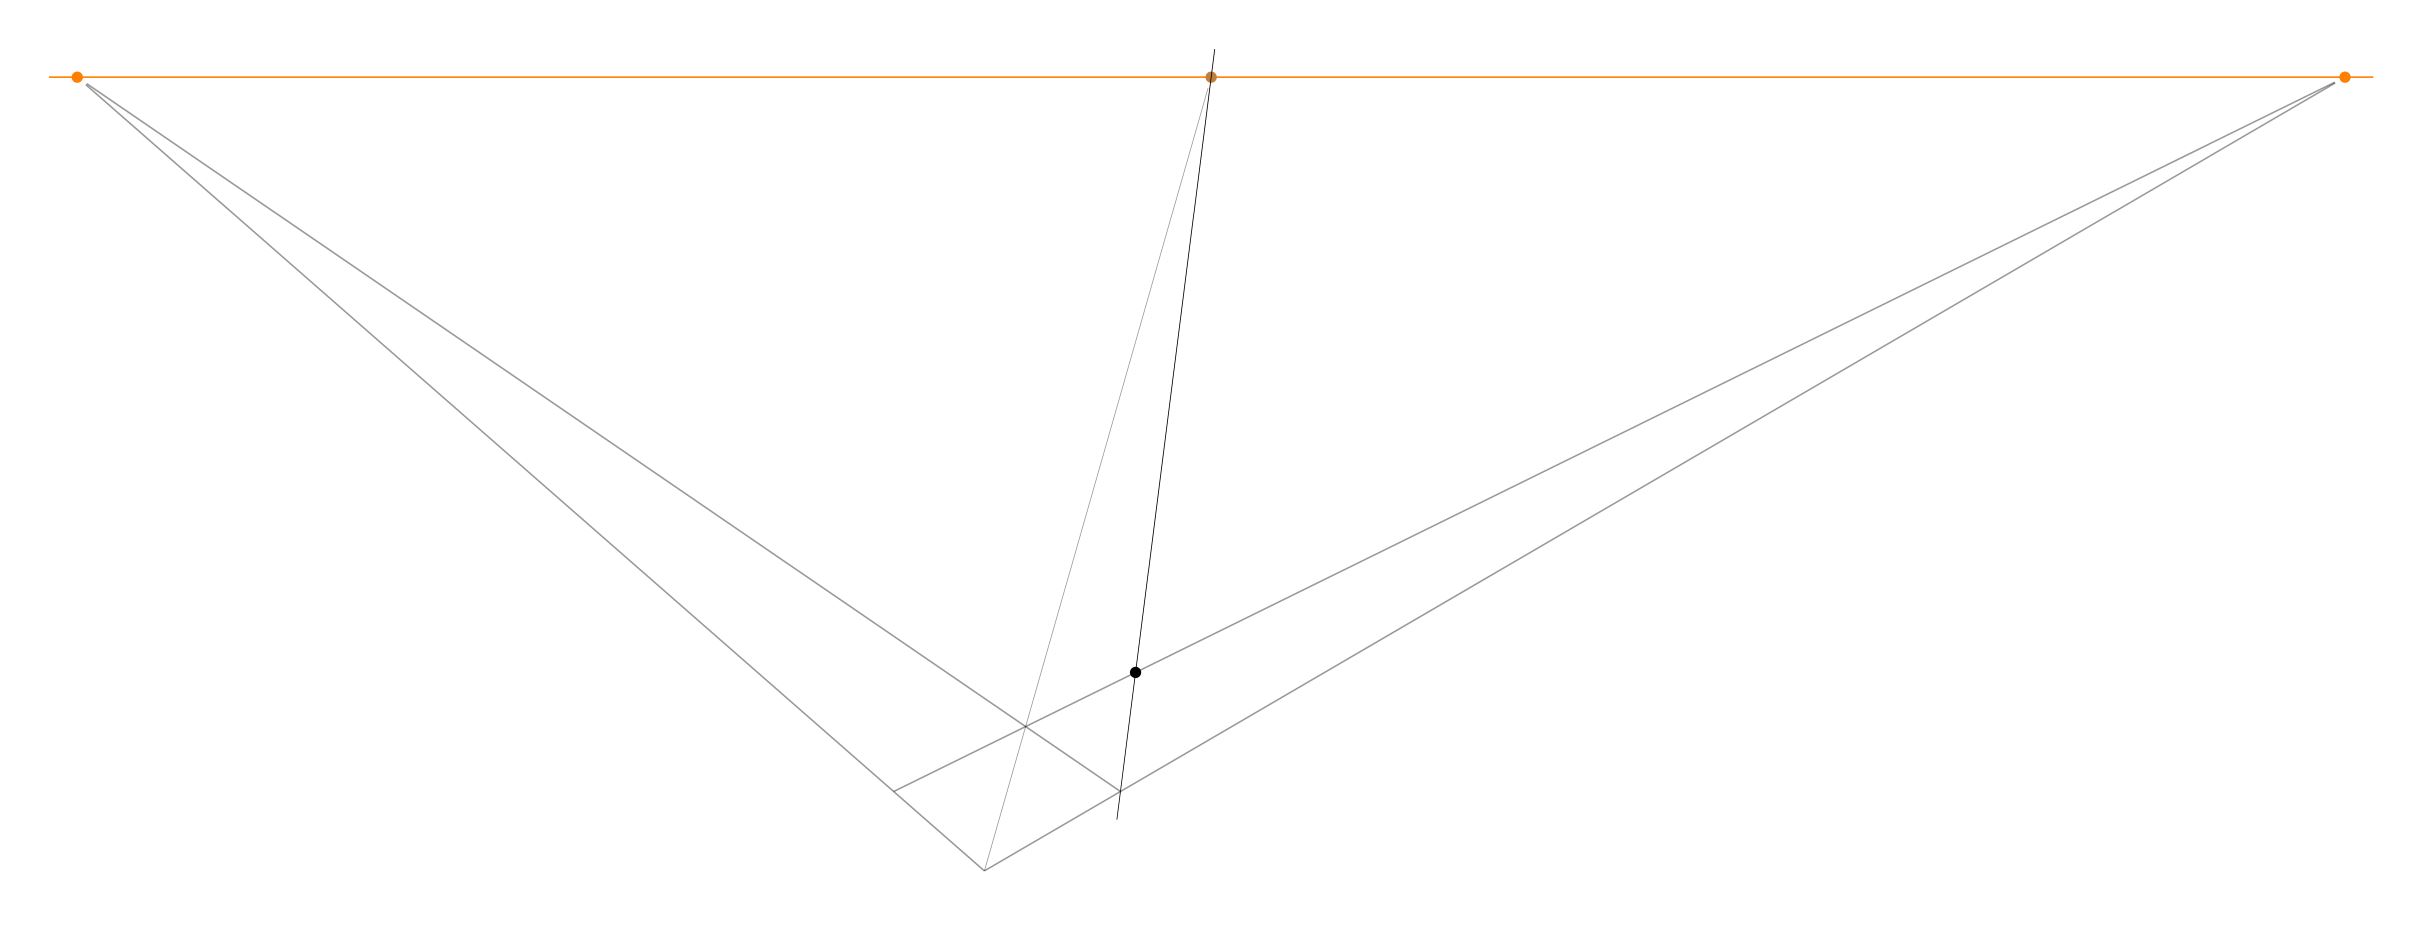
Start with a horizon, having two points at infinity (orange), at left and right, and a third point midway between them (brown), which we will call the diagonal infinity. Also, mark the front corner of your chess board (blue).

Extend the front corner to the points at infinity. And then mark off (red) a point that will be a measure of the grid spacing in the chessboard. This will the be size of the front square.
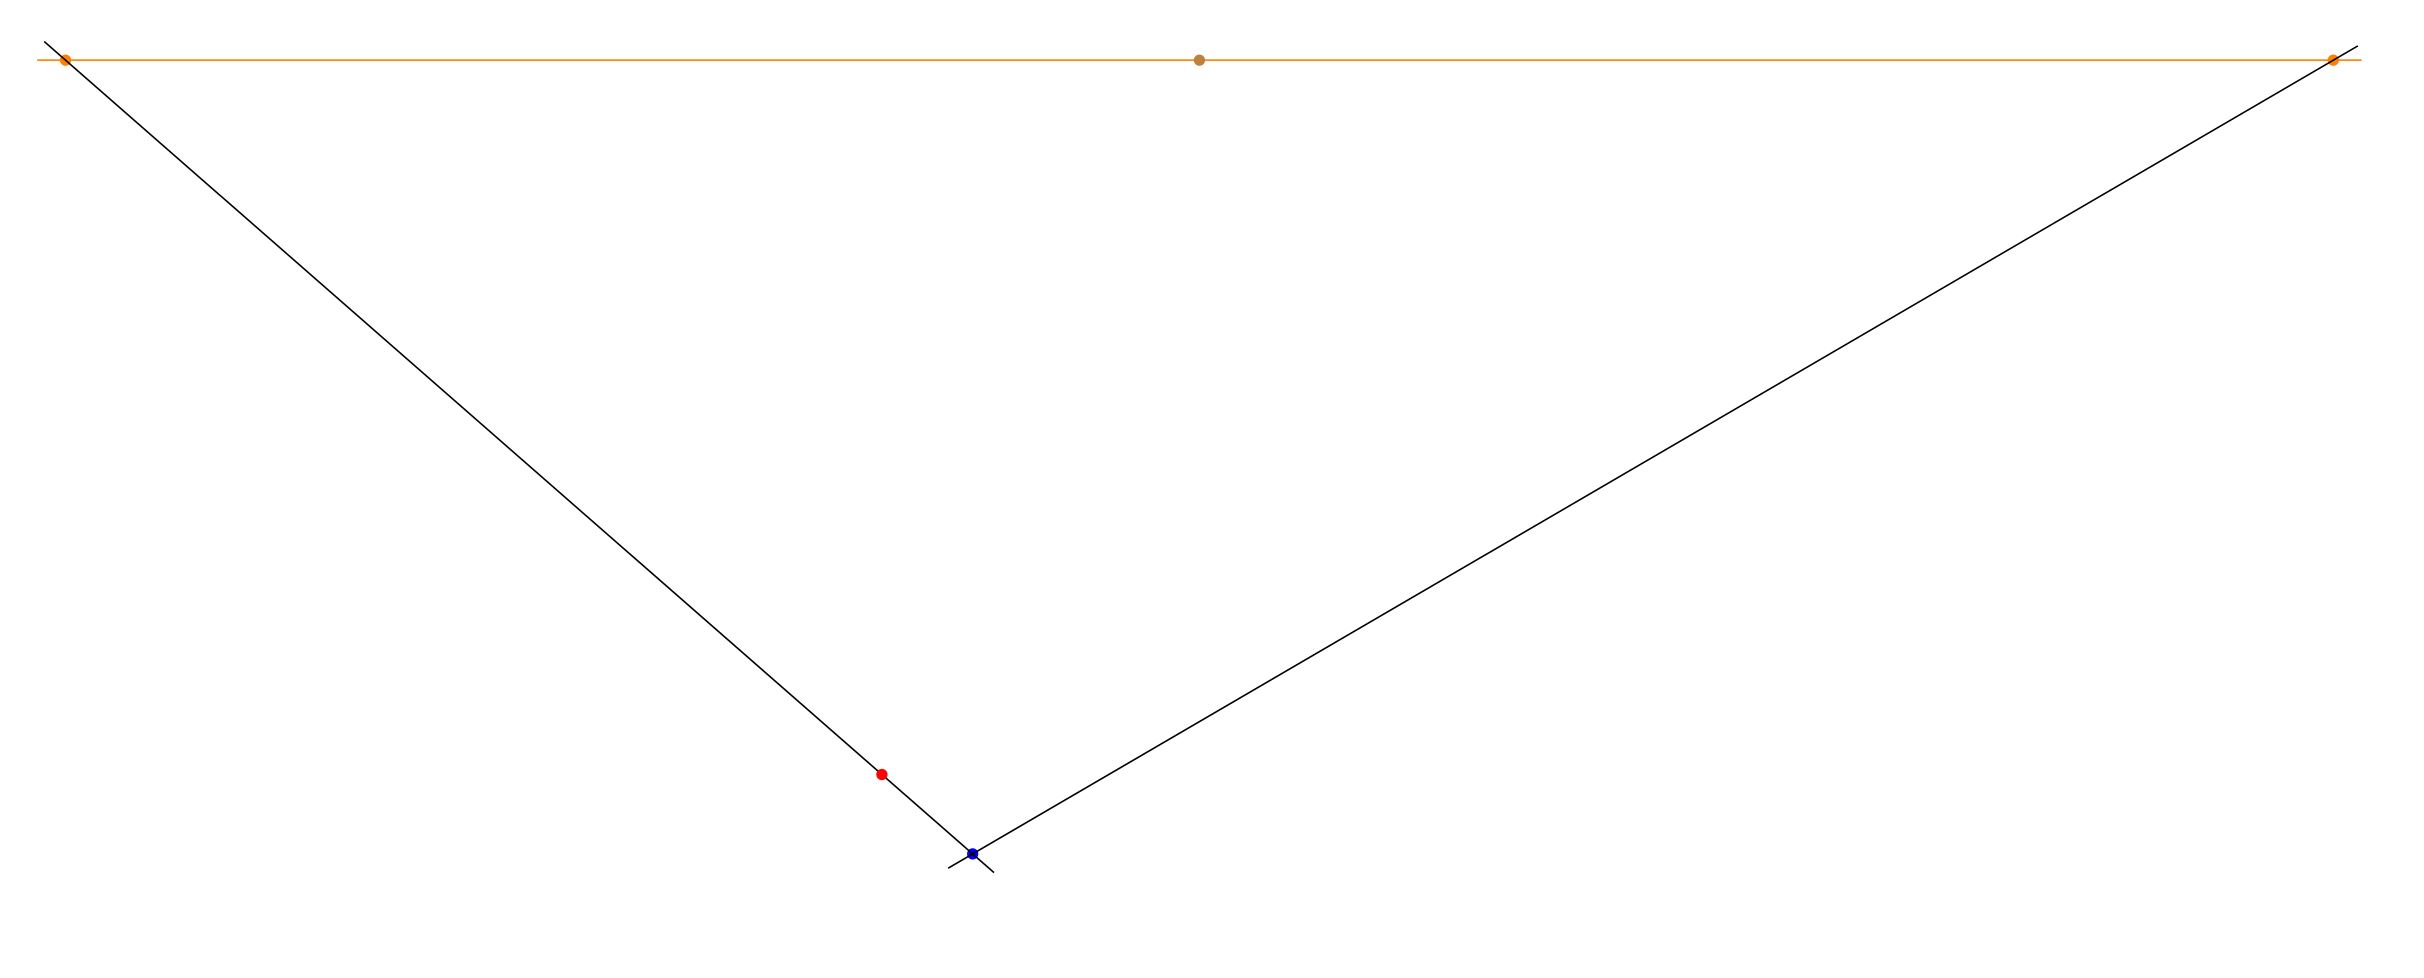
You can extend that point to infinity at the right. This delimits the first rank of the chessboard.
![]()
Next, extend the front corner of the board to the diagonal infinity.

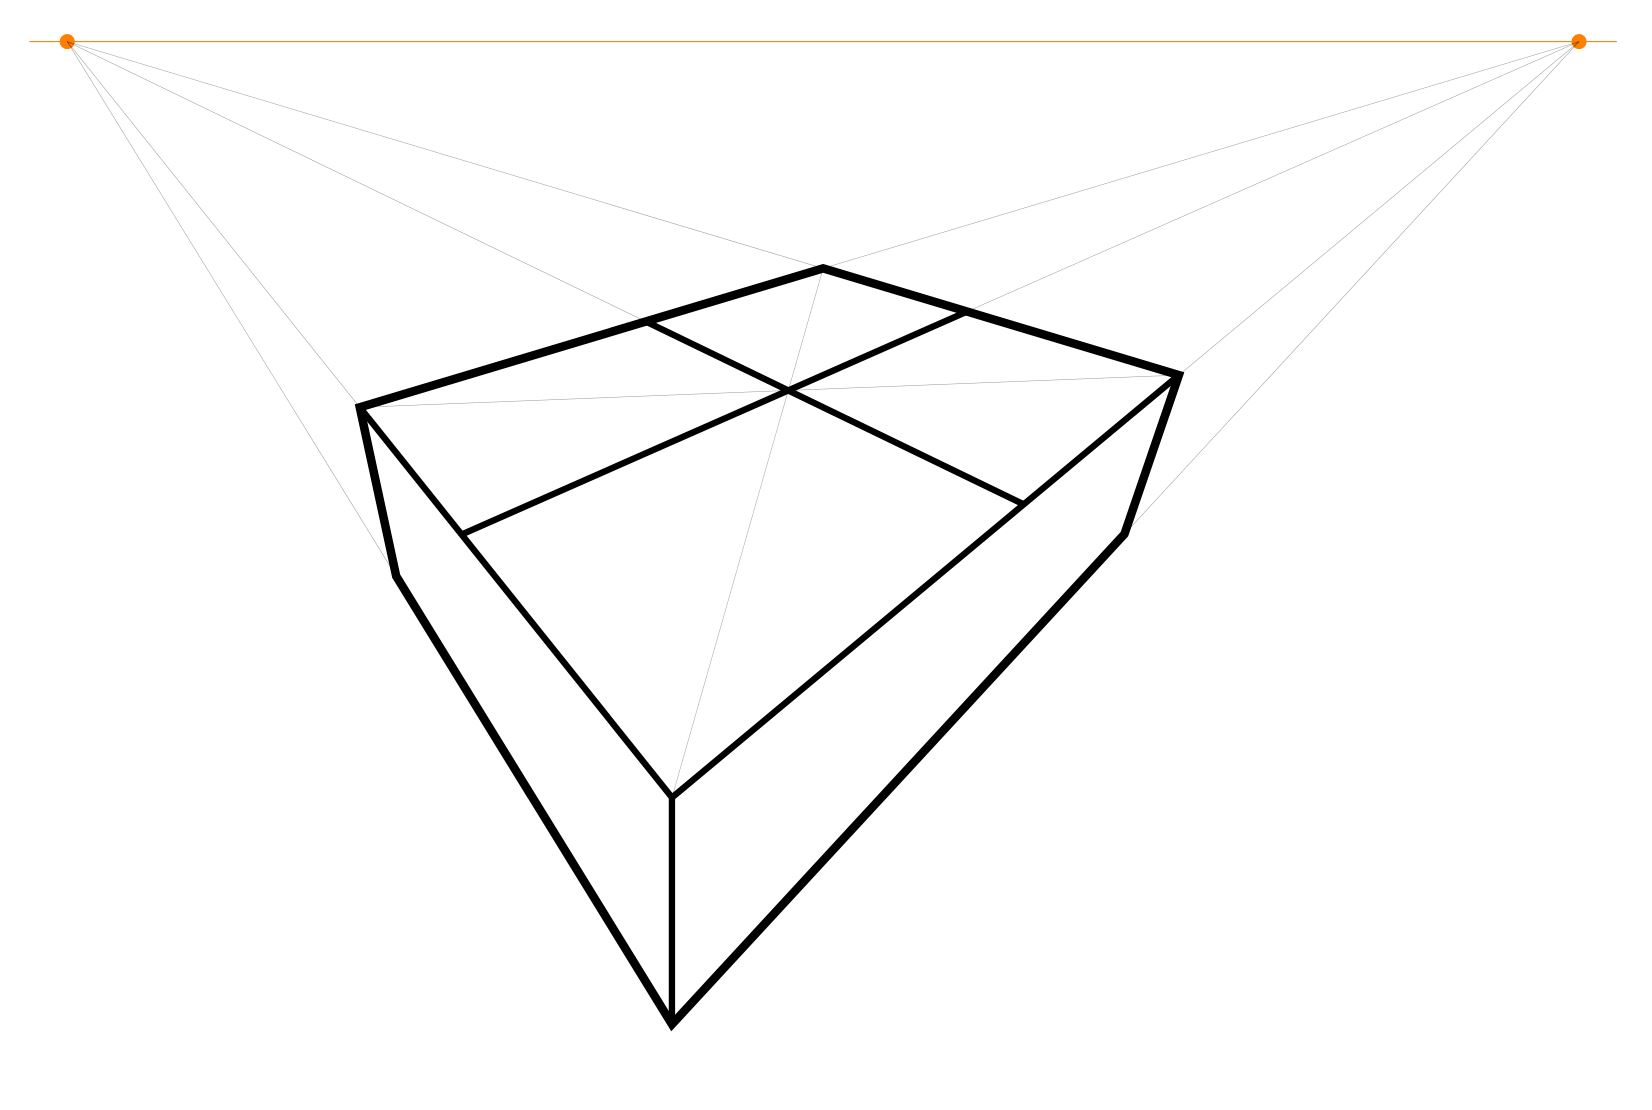
The intersection of that diagonal with the previous line determines a point, which when extended to infinity at the left, produces the first square of the chessboard.

And that line determines a new point on the leading rank edge. Extend that point up to the diagonal infinity, which determines another point on the second rank line.
Extend that line to infinity at the left, which determines another point on the leading rank edge.

Continuing in this way, one can produce as many first rank squares as desired. Go ahead and do that. At each step, you extend up to the diagonal infinity, which determines a new point, which when extended to infinity at the left determines another point, and so on.

If you should now reflect on the current diagram, you may notice that we have actually determined many further points in the grid than we have mentioned — and thanks to my daughter Hypatia for noticing this simplification — for there is a whole triangle of further intersection points between the files and the diagonals.
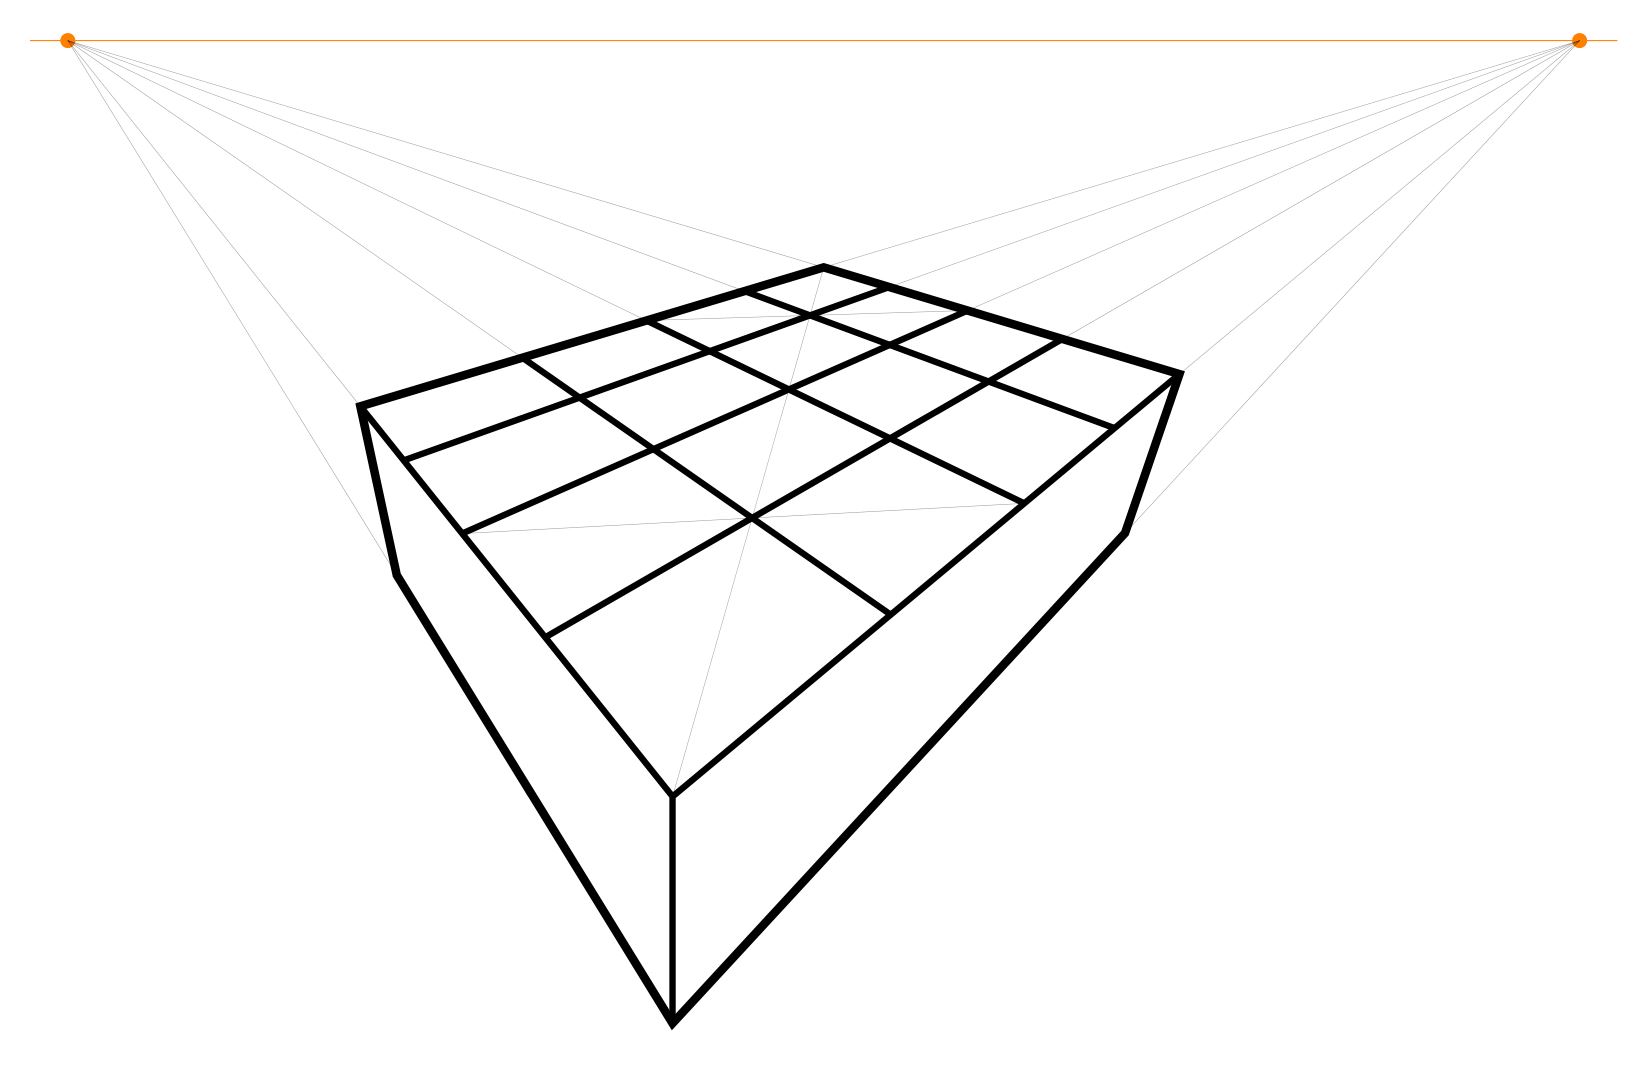
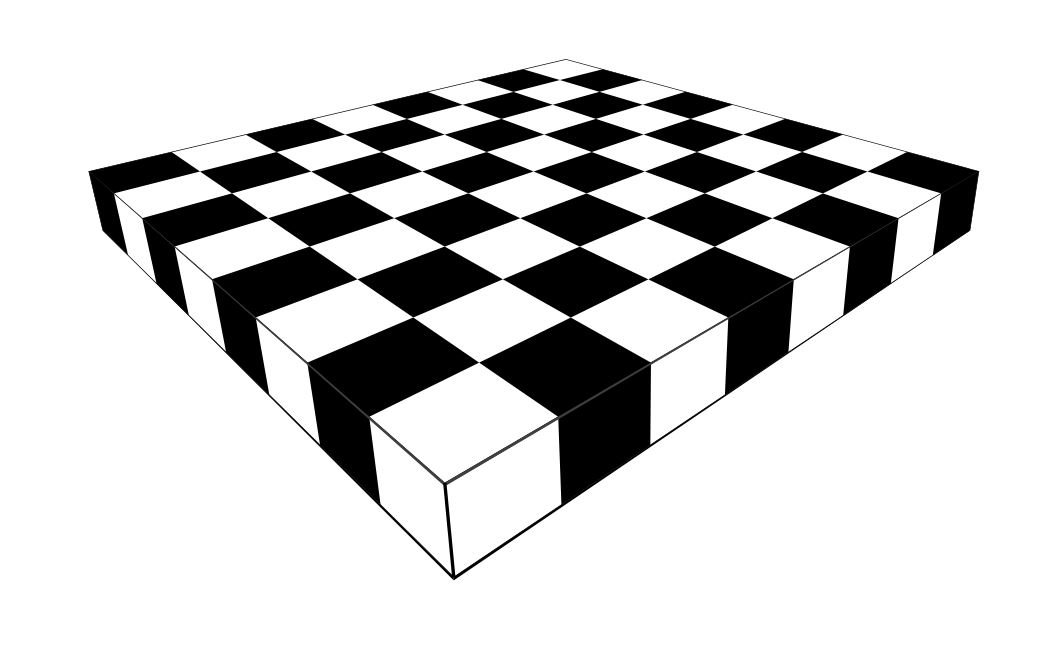
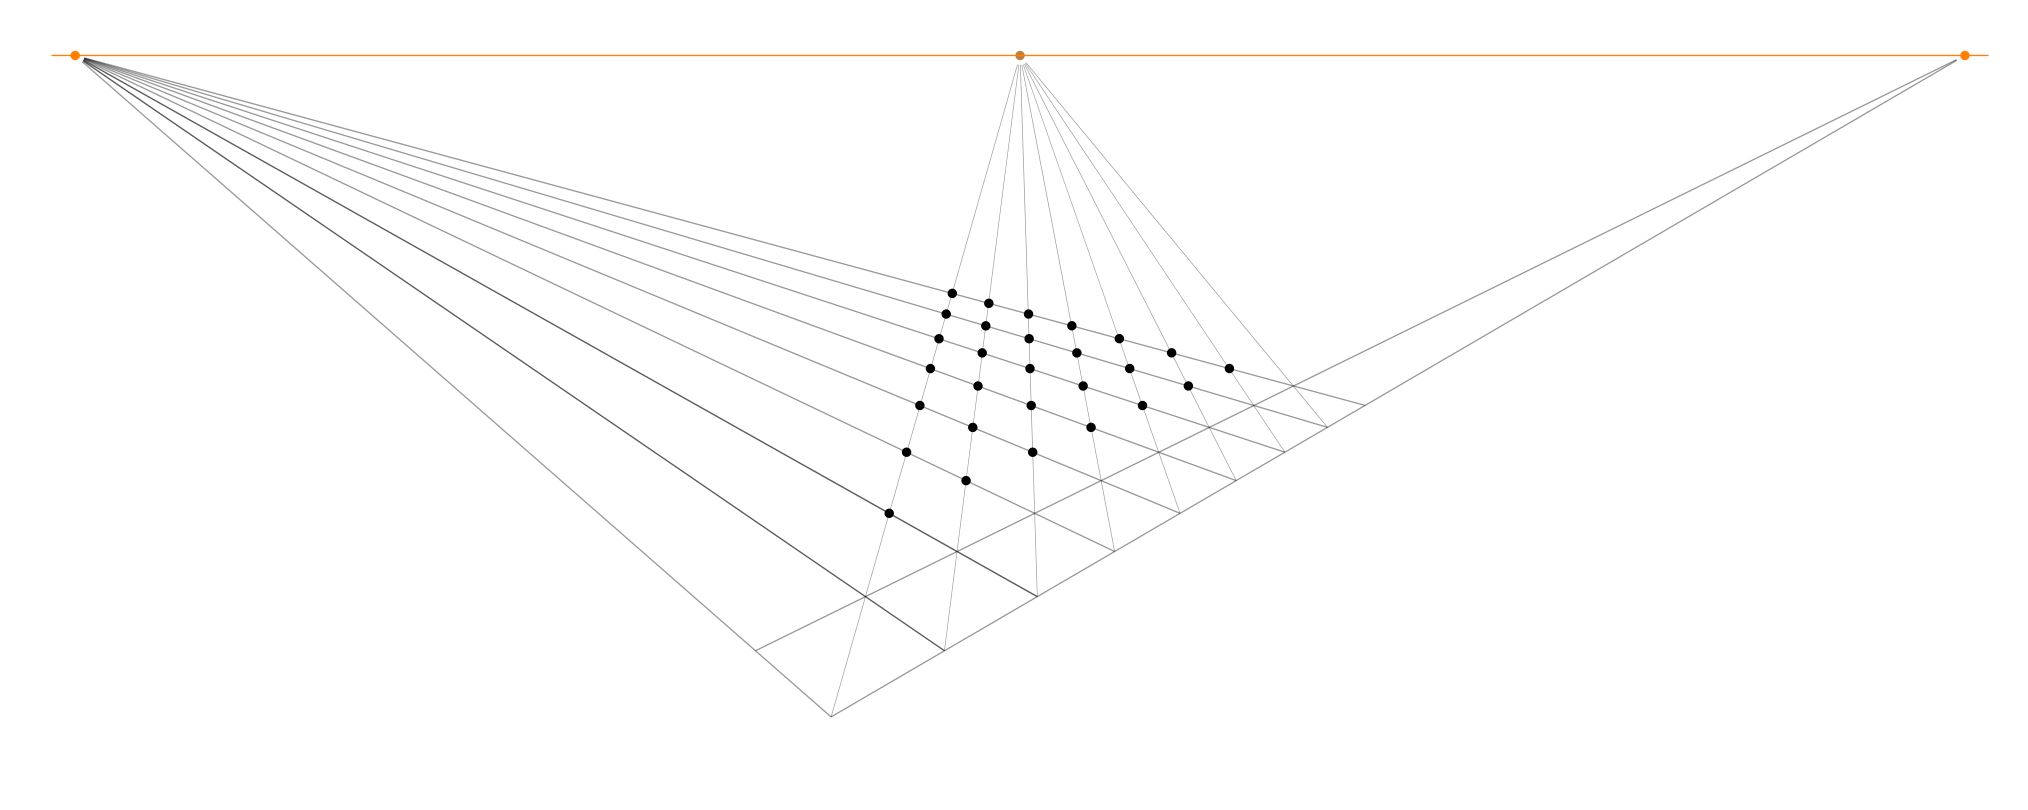 We can use these points (and we do not need them all) to construct the rest of the board, by drawing out the lines to infinity at the right. Thus, we construct the whole chessboard:
 One can construct a perspective chessboard of any size this way, and one can simply continue with the construction and make it larger, if desired.
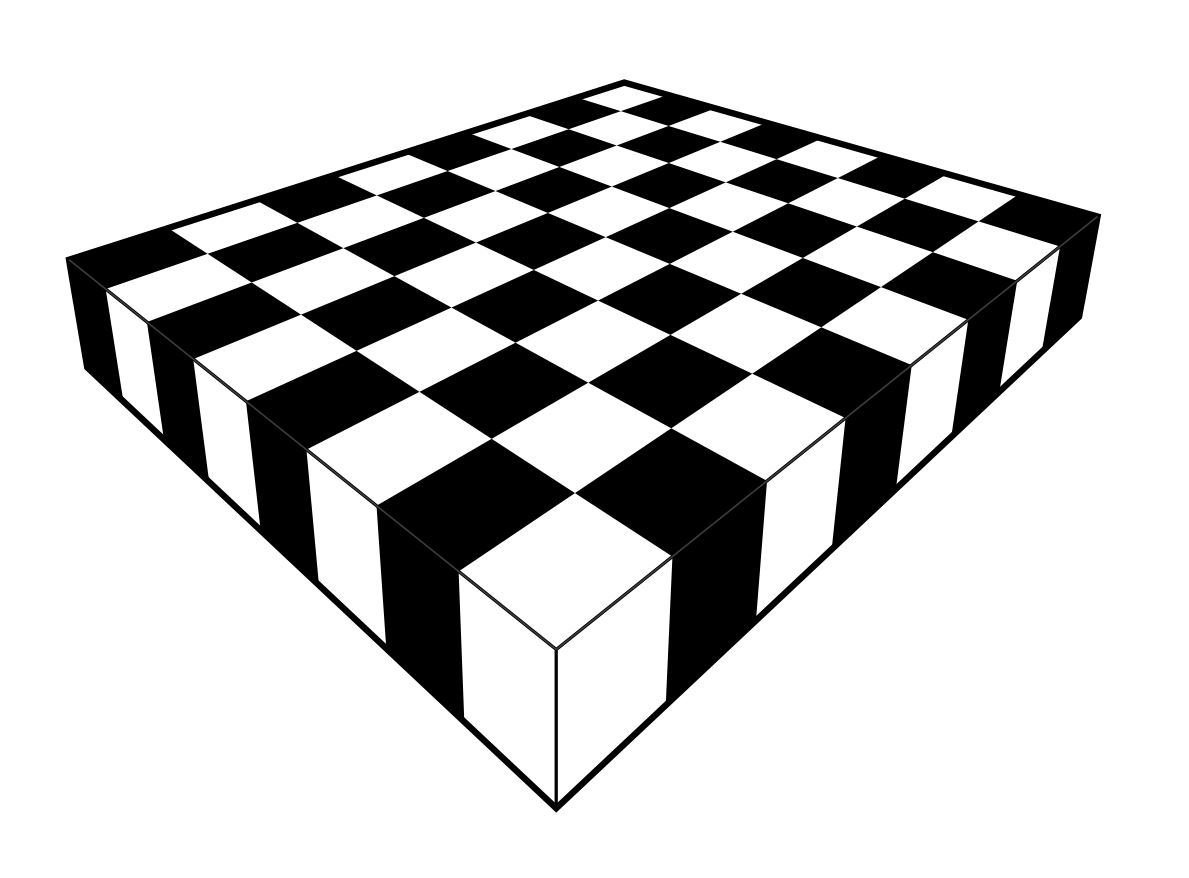
It will look a little better if you add a point at infinity down below (and do so directly below the diagonal point at infinity, but a good distance down below the board), and extend the board downward one level. The corresponding diagram on yesterday’s post might be helpful.
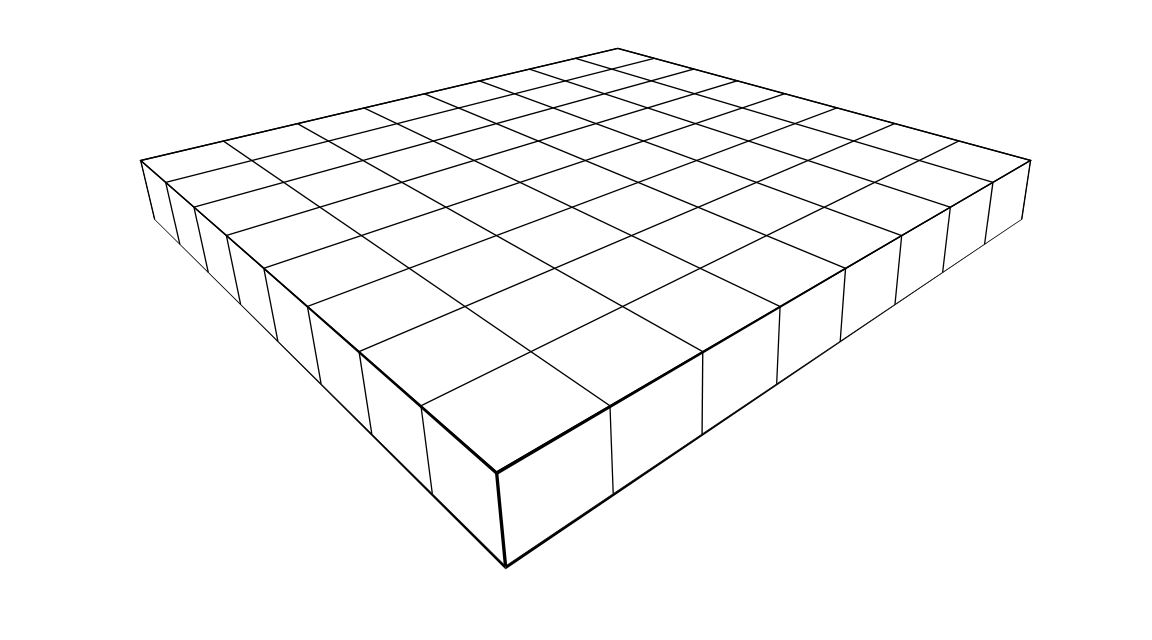
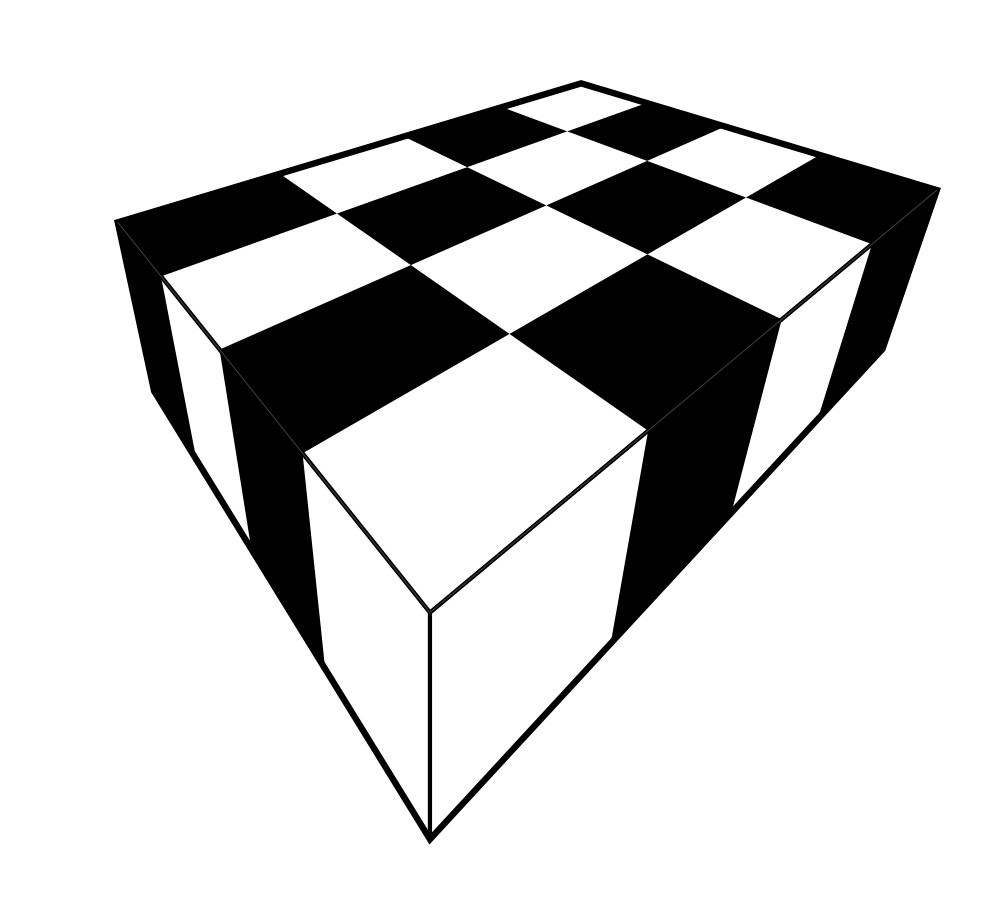
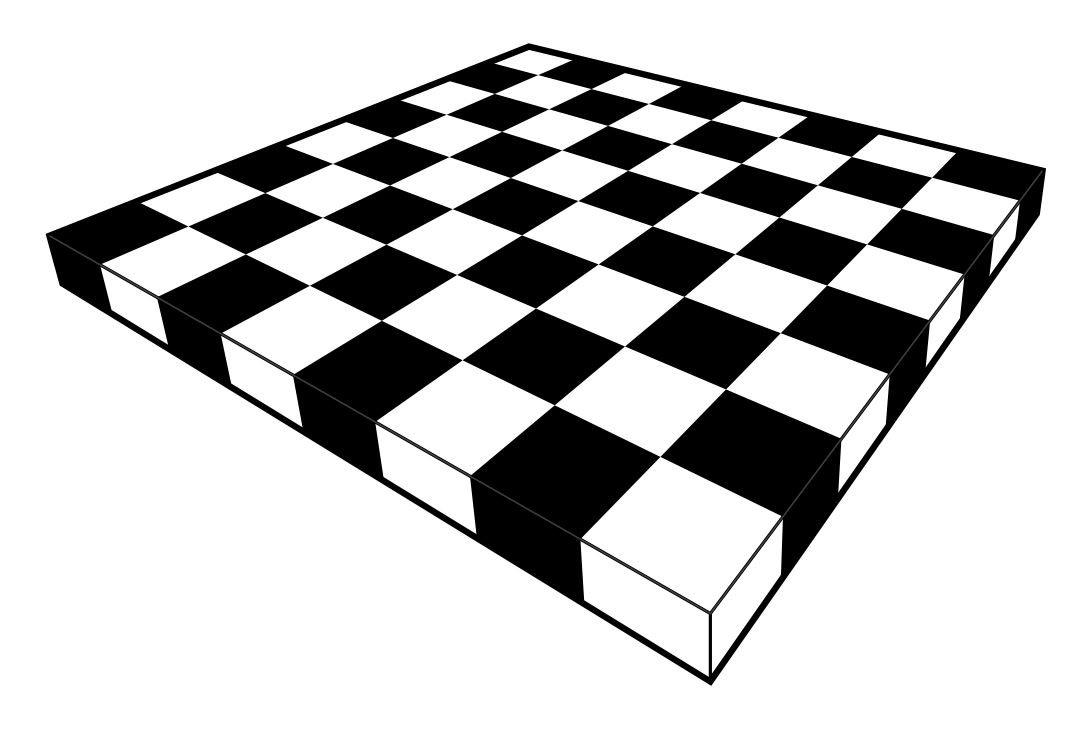
You can now color the tile pattern, and you’ll have a chessboard in perfect perspective view.
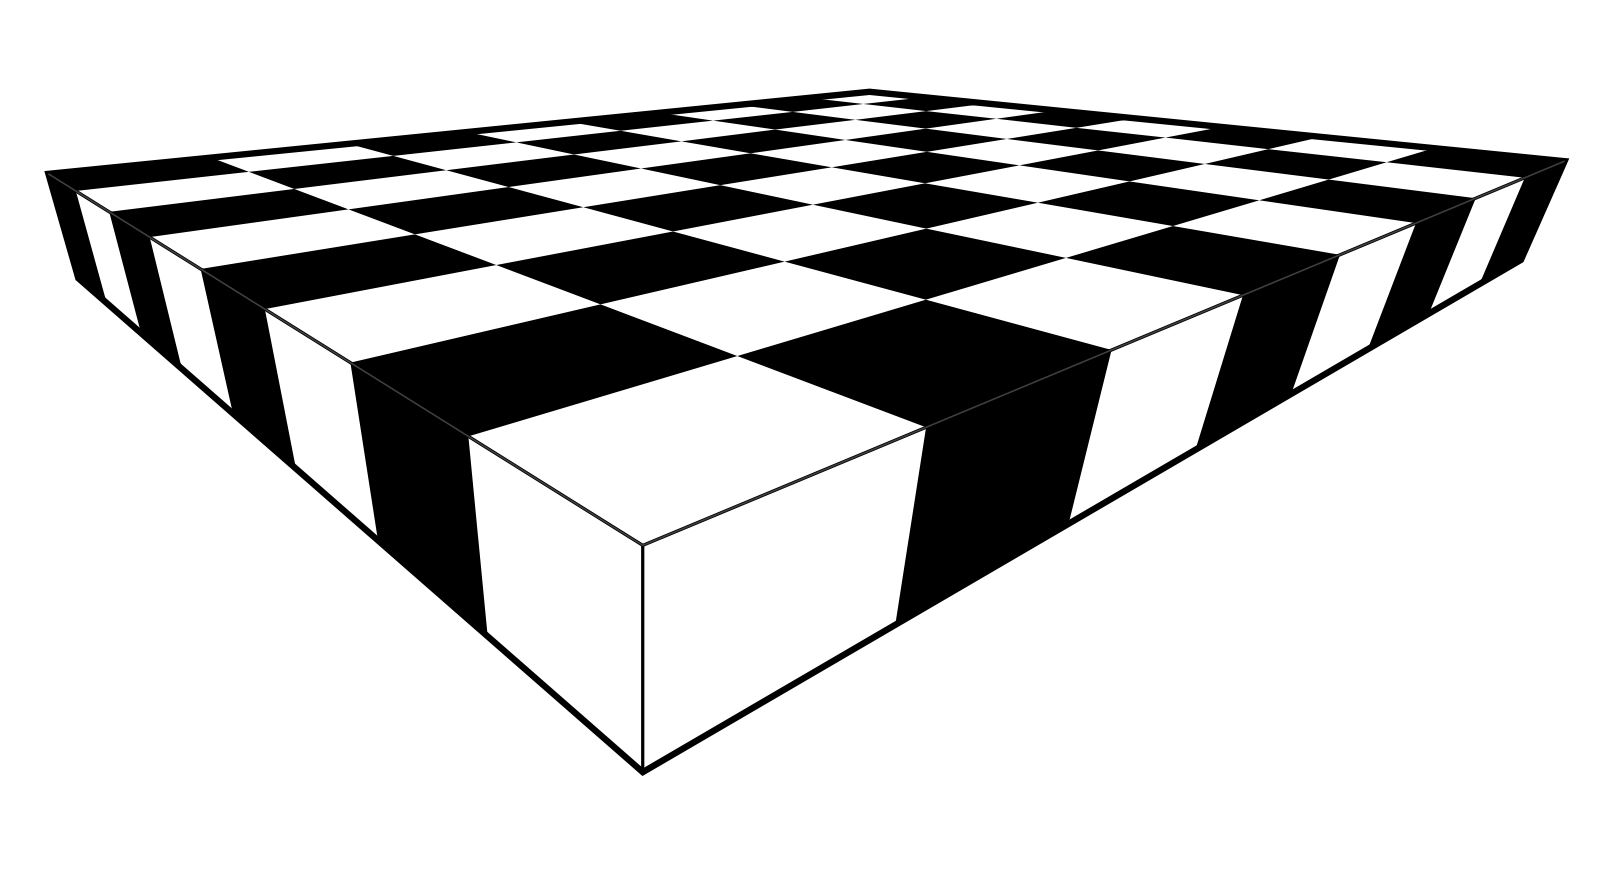
If you keep going, you can make extremely large chessboards. In time, I hope that you will come to learn how to complete an infinite chess board in finite time.